
Sugared Chocolate & Ginger Sponge Cake
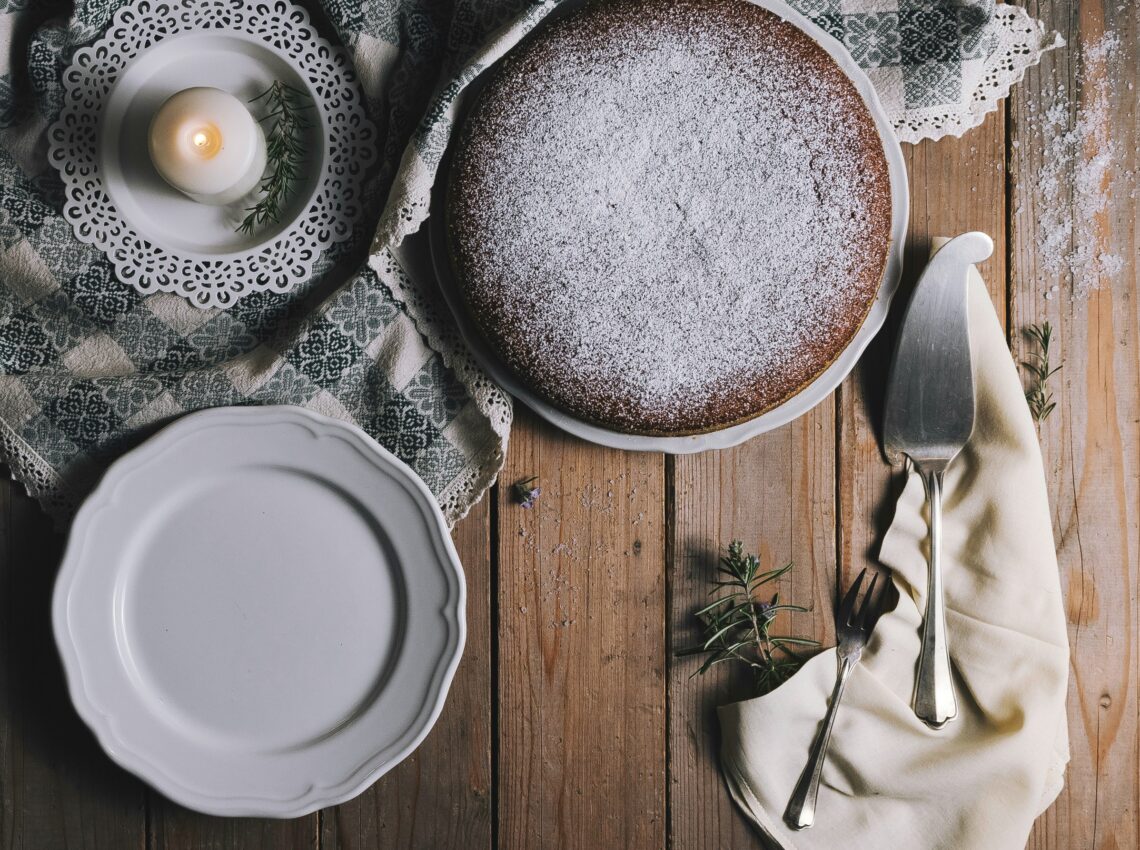
This Sugared Chocolate & Ginger Sponge Cake is where rich cocoa meets a warming kick of ginger. It’s soft, fragrant, and just sweet enough. Perfect for winter afternoons or a festive dessert table.
Ingredients
For the Sponge:
- 175 g unsalted butter, softened
- 175 g light soft brown sugar
- 3 large free-range eggs
- 150 g self-raising flour
- 25 g cocoa powder
- 1 tsp ground ginger
- 50 g finely chopped crystallised (or stem) ginger
- 1 tsp baking powder
- 2 tbsp milk (to loosen if needed)
For the Icing/Filling:
- 100 g dark chocolate (70% cocoa solids), chopped
- 50 g unsalted butter
- 2 tbsp stem-ginger syrup (from the jar)
- 100 g icing sugar, sifted
For the Topping:
- 2 tbsp golden caster sugar
- A few extra pieces of crystallised ginger, chopped
- Optional: a light dusting of icing sugar
Method
Preparation
- Preheat the oven to 180 °C (160 °C fan) / Gas 4.
- Grease and line two 20 cm sandwich tins with baking paper.
Making the Sponge
- Beat together the butter and sugar until pale and creamy.
- Add the eggs one at a time, beating well after each.
- Sift in the flour, cocoa powder, baking powder, and ground ginger. Fold gently.
- Stir in the chopped crystallised ginger. Add milk if the mixture feels stiff.
Baking
- Divide the batter between the tins, level the tops.
- Bake for 20–25 minutes, until risen and springy to touch.
- Cool in tins for 5 minutes, then turn out onto a wire rack to cool completely.
Making the Icing
- Melt chocolate and butter together gently (in a heatproof bowl over simmering water or in short bursts in the microwave).
- Remove from heat; stir in the ginger syrup and sifted icing sugar until smooth.
- Allow to cool until thick enough to spread.
Assembling
- Spread half the icing between the two sponges; use the rest on top.
- While the icing is still soft, sprinkle with golden caster sugar and chopped crystallised ginger to create a sparkling “sugared” finish.
Serving
- Leave to set for 20–30 minutes before slicing.
- Enjoy with a cup of tea or coffee!
Photo by Henry Be